Imagine a scenario where someone collapses in front of you, and their life hangs in the balance. Would you know what to do? In such critical moments, the knowledge of CPR (Cardiopulmonary Resuscitation) can be the difference between life and death.
CPR is a crucial life-saving technique that helps maintain blood flow to the brain and other vital organs when a person’s heart stops beating. In this article, we’ll break down the 7 essential steps of CPR, empowering you with the knowledge to potentially save a life.
Key Takeaways
- CPR is a critical life-saving technique that can help maintain blood flow to the brain and other vital organs when a person’s heart stops beating.
- The 7 steps of CPR include assessing the situation, checking for responsiveness, opening the airway, checking for breathing, starting chest compressions, giving rescue breaths, and continuing CPR until help arrives or the victim shows signs of life.
- Learning CPR is a valuable skill that everyone should possess, as it can make a significant difference in emergency situations.

Step 1: Assess the Situation
Before rushing to perform CPR, it’s crucial to assess the situation and ensure your own safety. Take a moment to scan the area for any potential dangers or hazards that could put you or the victim at risk. This could include things like live electrical wires, moving traffic, or unstable structures. Once you’ve determined that it’s safe to approach, proceed to the next step.
Step 2: Check for Responsiveness
Approach the person and gently tap their shoulder, asking loudly, “Are you okay?” Look for any signs of movement or response. If the person doesn’t respond, call out for help and ask someone nearby to call emergency services. If you’re alone, call emergency services yourself before proceeding with CPR.
Step 3: Open the Airway
To ensure that the victim’s airway is clear, gently tilt their head back and lift their chin. This head-tilt, chin-lift maneuver helps straighten the airway and allows for better airflow. If you suspect a neck injury, avoid excessive movement and use the jaw-thrust technique instead, which involves lifting the jaw without moving the head.
Step 4: Check for Breathing
With the airway open, take a moment to check for breathing. Place your ear near the victim’s mouth and nose, looking for any rise and fall of the chest. Listen and feel for any breath sounds. If the person is not breathing or only gasping, begin CPR immediately.
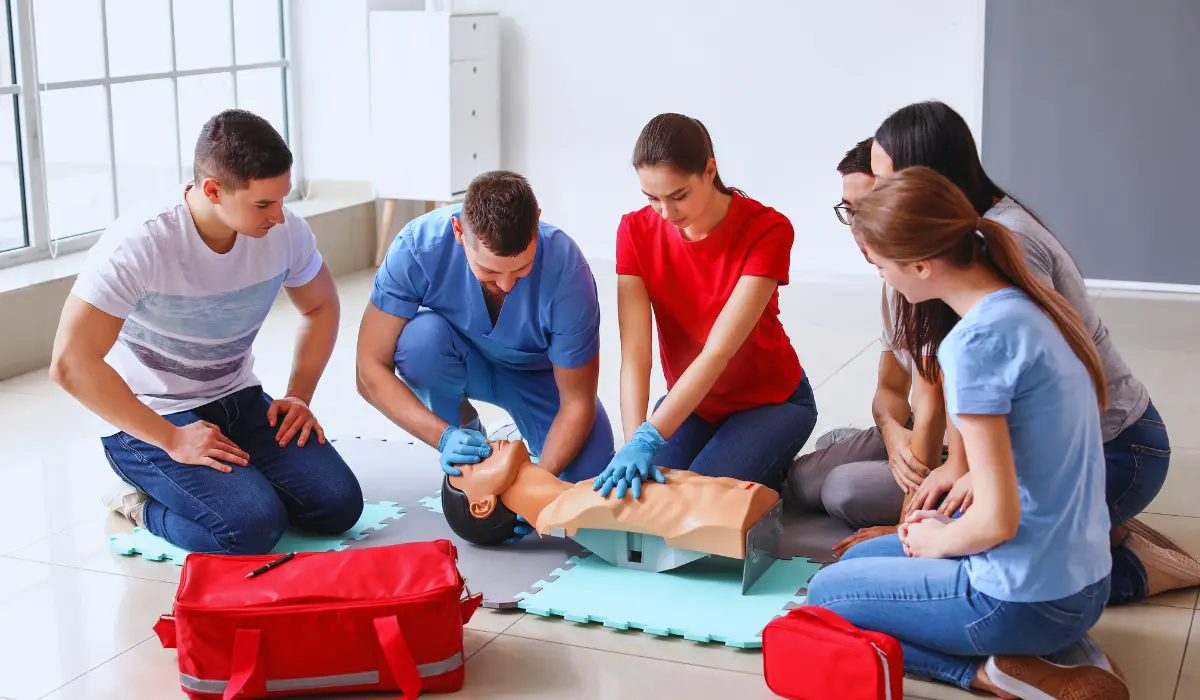
Step 5: Start Chest Compressions
Proper chest compressions are the foundation of effective CPR. Place the heel of one hand on the center of the victim’s chest, and place your other hand on top. Positioning your body directly over your hands, begin compressions by pushing hard and fast, aiming for a depth of at least 2 inches.
The American Heart Association recommends a compression rate of 100-120 per minute, with the classic disco song “Stayin’ Alive” serving as a helpful guide for maintaining the proper rhythm.
Step 6: Give Rescue Breaths
After 30 chest compressions, it’s time to give rescue breaths. Tilt the victim’s head back, lift their chin, and pinch their nose closed. Take a normal breath, seal your mouth over theirs, and deliver two rescue breaths, watching for the chest to rise and fall with each breath. If the chest doesn’t rise, reposition the head and try again.
Step 7: Continue CPR and Use an AED
Continue the cycle of 30 chest compressions followed by two rescue breaths until emergency medical help arrives or the victim shows signs of life, such as coughing, moving, or breathing on their own. If an automated external defibrillator (AED) is available, follow the device’s instructions to deliver a shock if advised. AEDs are designed to analyze the victim’s heart rhythm and deliver a shock if needed, significantly increasing the chances of survival.
According to the American Red Cross, “CPR, especially if performed immediately, can double or triple a cardiac arrest victim’s chance of survival.”
It’s important to note that the specific steps and guidelines for CPR may vary slightly depending on the age of the victim (adult, child, or infant) and the number of rescuers present. Seeking proper training from certified organizations like the American Red Cross or the American Heart Association can provide you with the most up-to-date and comprehensive CPR education.
Also Read: What Are The Strongest Essential Oils For Pain Relief? 15 Best Oils
Conclusion
Learning the 7 steps of CPR is a valuable skill that everyone should possess. By familiarizing yourself with these essential steps – assessing the situation, checking for responsiveness, opening the airway, checking for breathing, starting chest compressions, giving rescue breaths, and continuing CPR until help arrives – you can be prepared to act quickly and potentially save a life in an emergency situation.
Remember, the key to successful CPR is not just knowing the steps but also having the confidence to act when needed. As the Centers for Disease Control and Prevention (CDC) emphasizes, “CPR is a life-saving technique that can be performed by anyone, anywhere, at any time.”
Consider enrolling in a certified CPR course to gain hands-on experience and master the techniques under the guidance of trained professionals. By equipping yourself with this vital knowledge, you can make a profound difference in someone’s life and contribute to a safer, more prepared community.
FAQ
Start CPR if the person is unresponsive, not breathing, or only gasping. If you’re unsure, it’s better to err on the side of caution and begin CPR.
Chest compressions should be at least 2 inches deep for adults and children, and about 1.5 inches deep for infants.
Yes, hands-only CPR, which involves only chest compressions, can be performed if you are untrained, unable, or unwilling to give rescue breaths. However, conventional CPR with rescue breaths is still the preferred method, especially for children and infants.
Continue CPR until emergency medical help arrives, the victim starts showing signs of life (coughing, moving, or breathing), or you become exhausted and unable to continue.